[ad_1]
It’s no wonder that people are still using Windows 7 even today. It worked like a charm back in the day and this is the reason why many people still use it. But the problem is Microsoft no longer supports Windows 7 so you will not get updates. Currently, Microsoft supports Windows 10 and higher versions, so you can install Windows 10 on your PC.
There are two ways to get Windows 10, you can either upgrade to it using a media creation tool or fresh install Windows 10. When using the media creation tool, Windows 7 will be upgraded to Windows 10 without any data loss. In this article, we will guide you on how you can upgrade to Windows 10 from Windows 7.
Steps to Upgrade to Windows 10 from Windows 7
It is easy to upgrade from Windows 10 to Windows 7, and you can do it with the Windows 10 media creation tool. Before you continue, you must ensure your PC meets the following requirements to run Windows 10-
- Processor– 1Ghz or faster CPU or SoC
- RAM- 1GB (for 32-bit system) and 2GB (for 64-bit system)
- Storage- 20GB (for 64-bit system) and 16GB (for 32-bit system)
- Display- 800×600
- Graphics Card- DirectX 9 or later with WDDM 1.0 driver
- Latest OS– Windows 7 SP1 (if upgrading from Windows 7) or Windows 8.1
If your PC meets the above requirements then you can upgrade your system to Windows 10 from Windows 7.
1. Create a Backup
First, you must create a backup of your current Windows 7, so that if anything goes wrong you will always have the option to restore your PC from the backup. For this, we recommend using an external storage device like an external HDD or SSD with sufficient storage.
- Connect your external storage device to your PC.
- Now, press the Windows key, type Control Panel open it.
- Here click on System and Security and then click on Backup and Restore.
- On the left pane, click on Create a system image.
- On the Windows that opens up, select the On a hard disk option. Click on the drop-down menu under this option, and select your external storage device.
- Once done, click on the Next button.
- Now, click on Start Backup and this will start creating a backup. If you are asked to create a system repair disk, then you can click No.
- Once the backup has been created, you can close all the windows.
2. Upgrade to Windows 10
After you have created a backup of your current system, it’s time to upgrade your PC to Windows 10. For this, you will need a stable internet connection. Also, if you are upgrading to Windows 10 on a laptop, then ensure it is at least 80% charged and connected to the charger. To upgrade to Windows 10 from Windows 7, follow the steps given below-
-
- Visit the Windows 10 download page on your browser.
- Click on the Download Now button under Create Windows 10 installation media. This will download the Windows 10 media creation tool on your system.
- Now, open File Explorer by pressing the Windows + E key combo or double-clicking the Computer icon on your desktop.
- Head to the Downloads folder from the left pane of File Explorer, and double-click on the downloaded Windows 10 media creation tool.
- You will see the license terms and agreements for installing Windows 10; click Accept to continue.
- After this, select Upgrade this PC now, and click on Next.
- If you are asked to enter the product key then enter the product key for the version you are trying to upgrade to, and click on Next.
- You will be asked to accept license terms again; click Accept to continue.
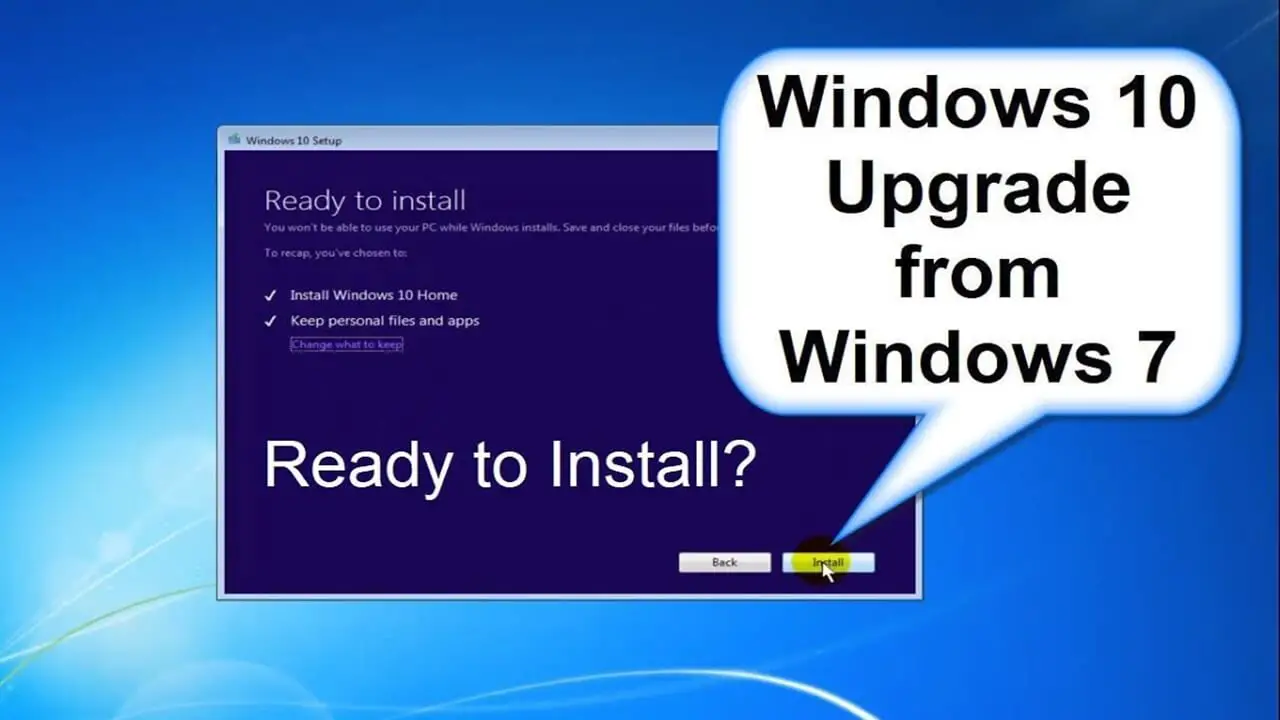
- The Ready to Install screen will show you what files will be kept during the upgrade. If you want to change this, then click on Change what to keep option, and you will have three options-
- Keep personal files and apps– To keep your files, settings, and apps.
- Keep personal files only- To keep only the files but delete the apps and settings.
- Nothing- Deletes everything including your files, apps, and settings.
- Click on Install and follow the on-screen instructions to install Windows 10.
- Your system might restart a few times during the process.
- Once Windows 10 is installed, you will see the setup wizard. Continue ahead with the setup wizard to set up your screen.
- After you are done with this, you will see all your files and apps are present here.
Note- Not all Windows 7 apps are supported on Windows 10. Apps that work on Windows 10 will be upgraded to the latest version.
Bottom Line
This should help you upgrade to Windows 10 from Windows 7. Windows 10 has gone through significant changes, so after you upgrade to Windows 10, you will have to install the correct drivers so that your device works properly. Also, some of the accessories that work with Windows 7 may not be compatible with Windows 10.
[ad_2]
Source link
