[ad_1]
We have already entered an era where we started to care about privacy. Still, we fail to recognize that sharing our devices like laptops & smartphones is the biggest breach of privacy.
It’s common for users to own a laptop, and they never hesitate to hand it over to their family members. Anyone with access to your laptop can check the sites you visit, the photos you have saved, and the sensitive data stored in it.
To prevent these privacy breaches, Microsoft’s Windows 11 Home edition allows you to create a Guest account. So, if you use Windows 11 Home Edition and often share your laptop with others, you can create a dedicated account for other users.
How to Create Guest Account in Windows 11 Home
In this way, you won’t have to worry about sharing your personal information with other users. There are multiple ways to create a guest account on Windows 11 Home; below, we have mentioned all of them. Let’s check out.
1. Create a Guest Account on Windows 11 via Settings
In this method, we will create a Guest account by utilizing the Settings app. Follow some simple steps we have shared below.
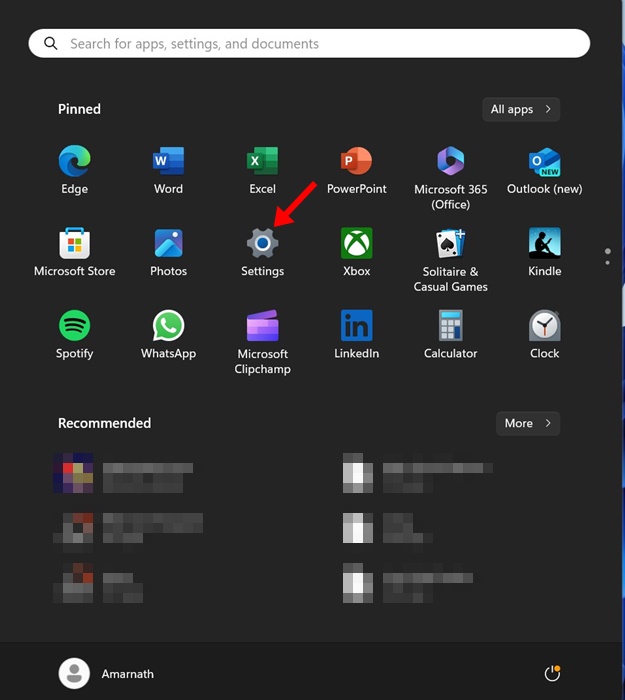
1. To get started, open the Settings app of your Windows 11 PC.
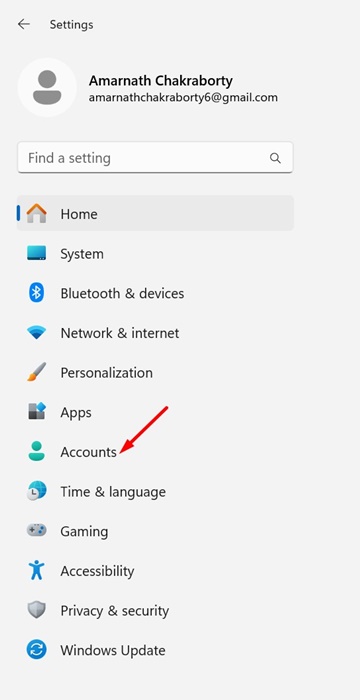
2. When the Settings app opens, switch to the Accounts tab on the left pane.
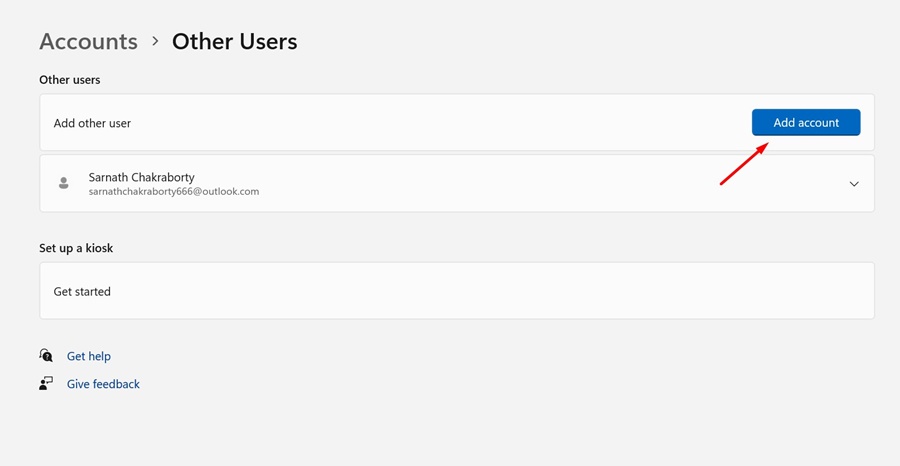
3. On the right side, click on Other users. Next, click the Add Account button beside Add other user.
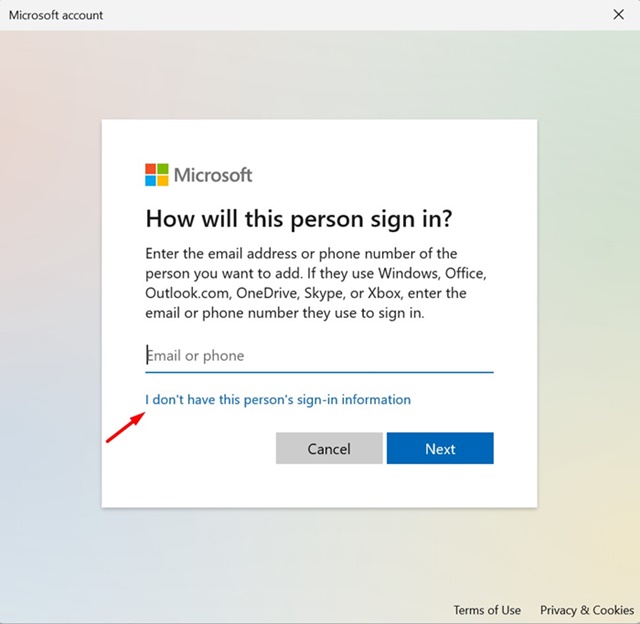
4. Next, click on the I don’t have this person’s sign-in information.
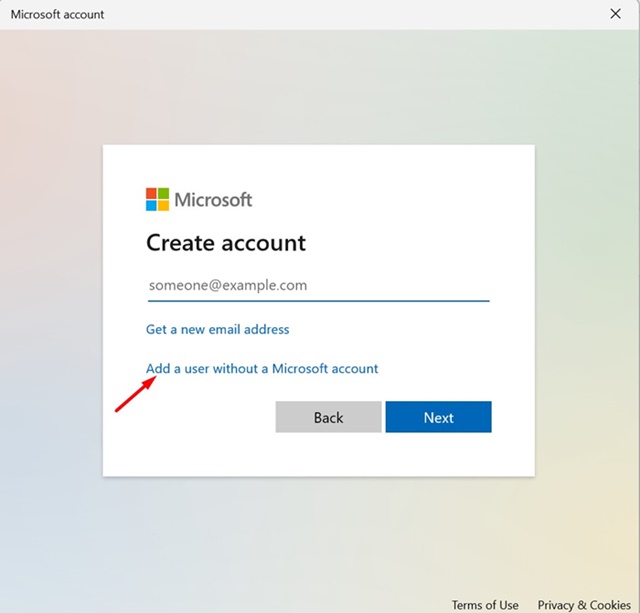
5. On the Create account prompt, select Add a user without a Microsoft account.
6. On the Create a new user for this PC prompt, add a name like Guest.
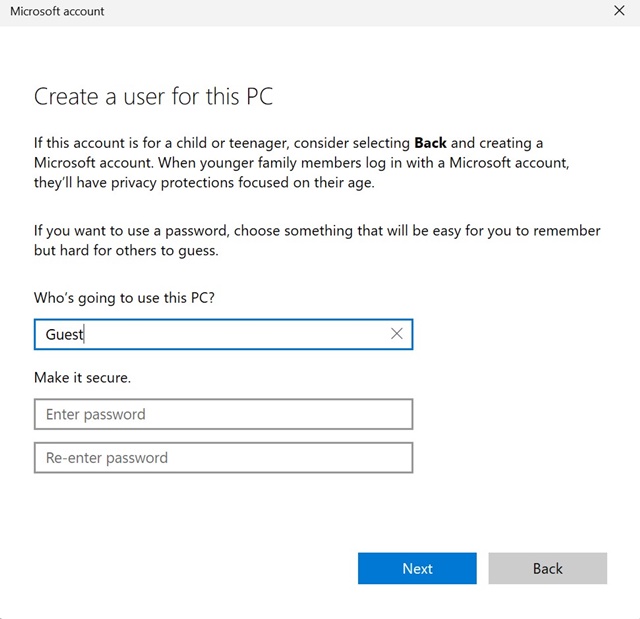
7. You can also add a password if you want. Once done, click on Next.
That’s it! This ends the Guest account creation process on Windows 11. You can switch between accounts from the Windows Start > Account Switch option.
2. Create a Guest Account on Windows 11 Home via Terminal
This method will use the Terminal app to create a Guest account. Follow some of the simple steps we have mentioned below.
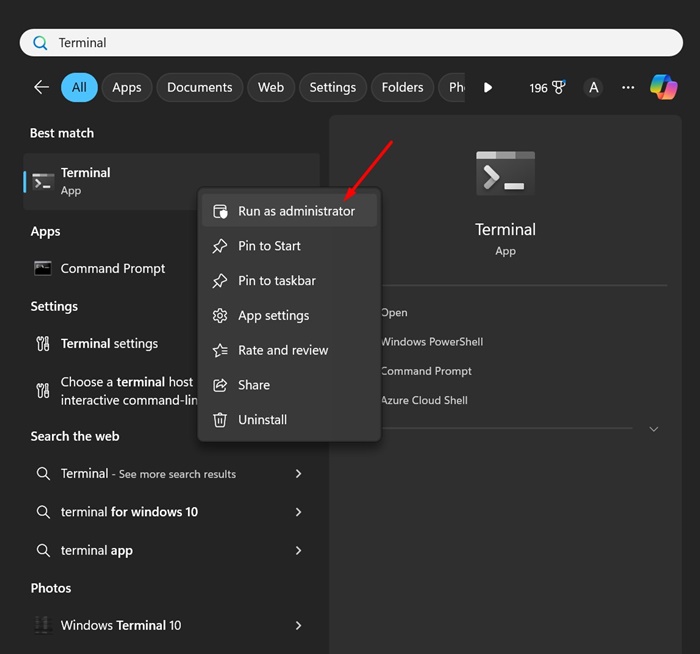
1. To start, type Terminal on Windows 11 Search.
2. Next, right-click on the Terminal and select Run as administrator.
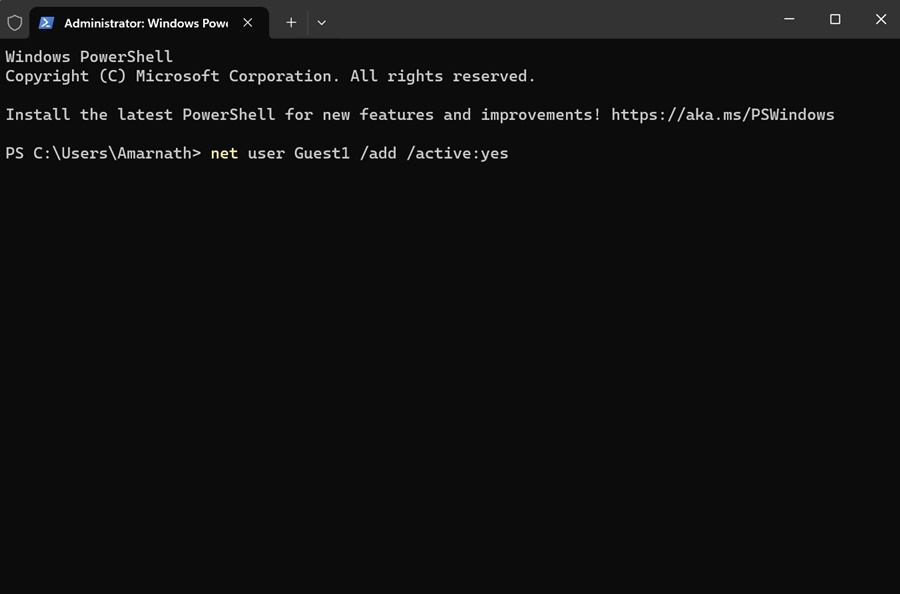
3. When the Terminal opens, execute this command:
net user {username} /add /active:yes
Important: Replace {username} with the name you want to assign to the Guest account.
4. If you want to add a password, execute this command:
net user {username} *
Important: Replace {username} with the name of the Guest account you’ve just created.
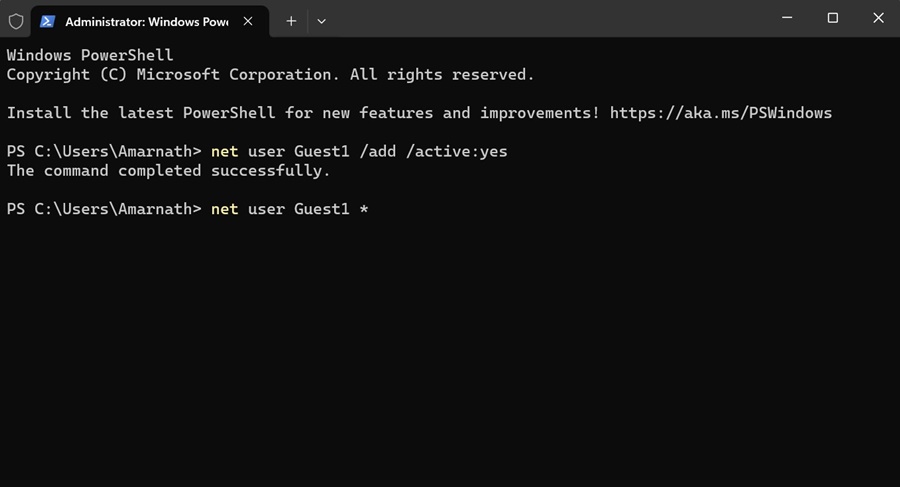
5. After executing the command, you will be asked to enter the password you want to set. Enter the password you want to set.
Note: You won’t see the password as you type. So, type the password carefully.
6. Now, you must remove the user from the Users group. For that, enter the command shared below:
net localgroup users {username} /delete
Note: Replace {username} with the name of the Guest account you’ve just created.
7. To add the new account to the Guests user group, execute this command by replacing {username} with the name you’ve assigned to the account.
net localgroup guests {username} /add
That’s it! After making the changes, restart your Windows 11 PC. This should add the new guest account.
So, these are the two working methods to add a Guest account on Windows 11 Home Edition. You can follow the same steps to add as many accounts as you want on Windows 11 Home. Let us know if you need more help adding a Guest account on Windows 11 Home.
[ad_2]
Source link
